How do I change the layer display order?
This is a two part answer. The first describes how the layer display order may be changed by a standard user. The second describes how the default display order may be set by project administrators.
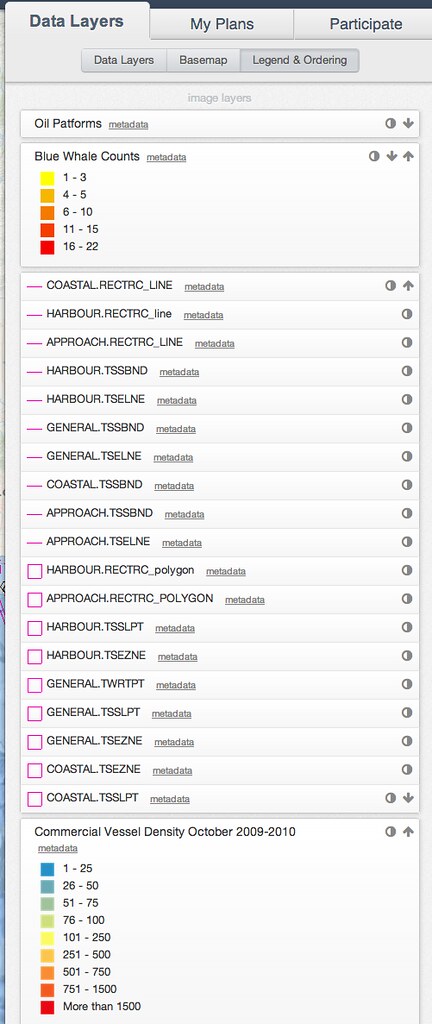
Ordering Layers as a Standard User
Under the data layers tab, select the "Legend & Ordering" button. On the right hand side of each layer, there are either up or down arrows or both. These arrows are used to move the layer either below or above the next layer.
Note that this does not change the order of the layer name in the list - only it's position on the map. You may need to do this several times to have it appear the way you want, relative to other layers you wish to view. Ensure that all the layers you wish to view together are turned on so that you may view the results with each move.
Setting the Default Layer Order as an Administrators
Layer ordering is set under the Data Layers tab > Z-Ordering tab in the project dashboard. Simply drag and drop layers and groups to appear as you wish. Turning them on first will ensure that you see how they will look once you've changed their order ("Z-index").
Make sure you "publish changes to users" when you are ready. Note that all changes to the layer tree will be published, including any new data, folders or headers that you have added.
https://s3.amazonaws.com/SeaSketch/z-index.PNG