Intro the the My Plans Tab
What can I do in the My Plans tab?
- Sketch plans
- Edit plans
- View reports about plans
- Group plans in ‘Collections’
- Copy, delete, export, and other functions
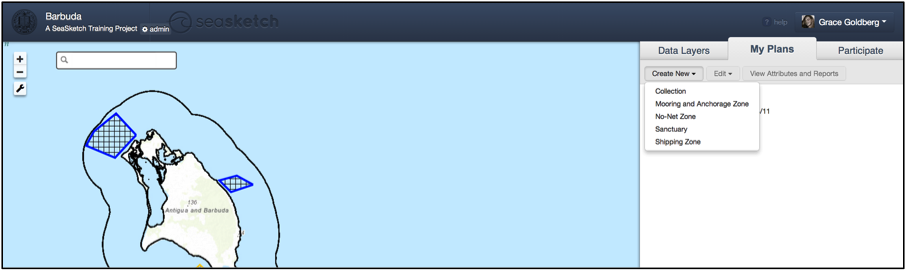
How to sketch new plans:
Choose
a sketch class, the type of plan
element you would like to sketch.
Depending on your project, there may be one or more options. Select the My Plans tab, and click ‘Create
New’ in the top left corner.
Choose the sketch class from the dropdown menu.
Click on the map to create the sketch. Double-click to finish your sketch. You may be creating a polygon, line, or point. For guidance, watch the instructional video to the right. [NOTE: be sure to not cross lines of a polygon. We call this a “bowtie” and you will be asked to re-sketch.]
Fill out attributes, starting with the name of your sketch, and any other information requested.
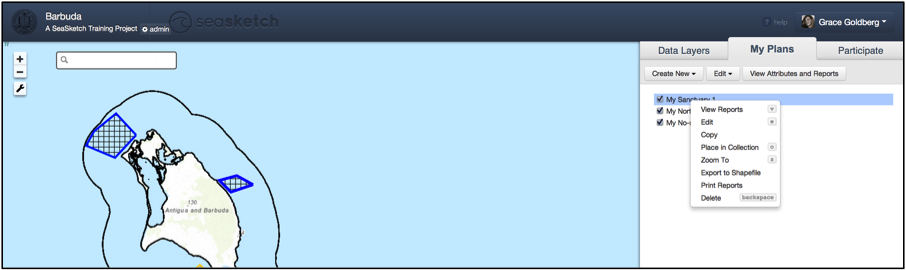
How to edit your sketches:
Select the sketch you would like to edit. Click ‘Edit’ at the top right to view the editing drop-down menu and select ‘edit’ from the drop-down menu. -or- Right click on the plan itself and select ‘edit’ from the drop-down menu.

Zoom to the sketch you would like to edit, to see it more closely. Select zoom to from either the editing drop-down menu, or by right clicking on the sketch name.
Edit geometry by selecting geometry, and clicking and dragging the orange and white vertices of your sketch. Click ‘Done editing geometry’ when you are satisfied and click ‘Save Plan’ to complete editing.
Edit attributes by selecting ‘attributes’ and changing responses to the attribute form. Click ‘Save Plan’ to complete editing.
Copy a sketch by selecting the sketch, clicking the ‘Edit’ button, and selecting ‘copy’. –or- Right-click on the sketch, and select ‘Copy’. You will be prompted to re-name the sketch. Edit the geometry and/or attributes to create two similar versions of a plan.
Delete a sketch by selecting the sketch, clicking the ‘Edit’ button, and selecting ‘Delete’.
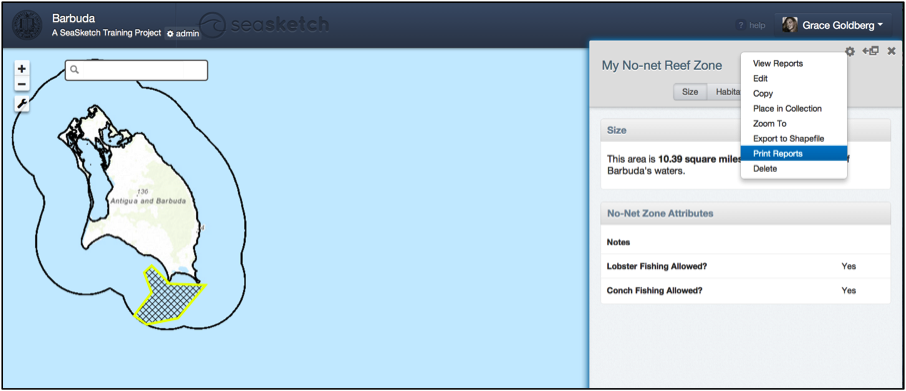
How to view reports:
Open the report window by selecting the sketch or collection you would like to analyze and clicking “View Attributes and Reports” button. -or- Right click on the specific plan and select “View Reports” in the drop down menu.
View multiple reports by clicking on the tabs centered at the top of the report window. By selecting a new tab, you will load a new report. Depending on your project, you may not have multiple reports.
Slide the report window left and right with the slider icon in the top right of the window to view the main tabs simultaneously.
Print by clicking the gear icon in the top right corner of the window, and selecting ‘Print Reports’.
How to create a Collection:
Create a Collection by clicking the ‘Create New’ button, and selecting ‘collection’ from the drop-down options. You will be prompted to name the collection, and add plans. A Collection is a group of sketches that can be analyzed together.
Add a plan to a Collection by selecting the sketch, clicking the ‘Edit’ button, and selecting ‘Place in collection’ from the drop-down menu.
How to export a shape (plan) to GIS:
Export a Shape by clicking the gear icon in the top right corner of the window, and selecting ‘Export to Shapefile'.